-
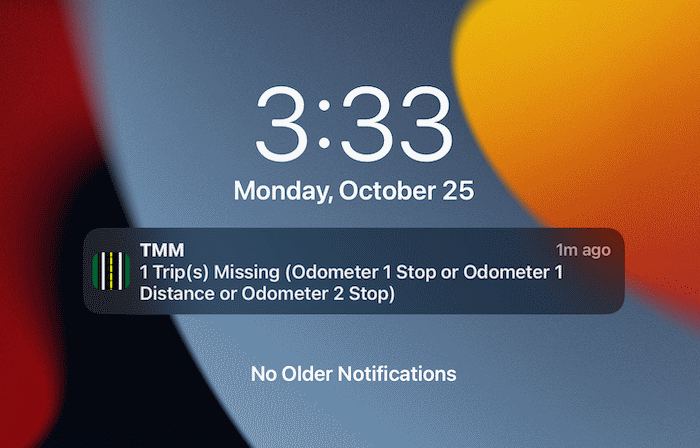
The notification reminds you if any of your trip(s) have incomplete information, so you can fix them.

How do I change which fields are used?
-
Access the Settings Page (tap here to learn how)
-
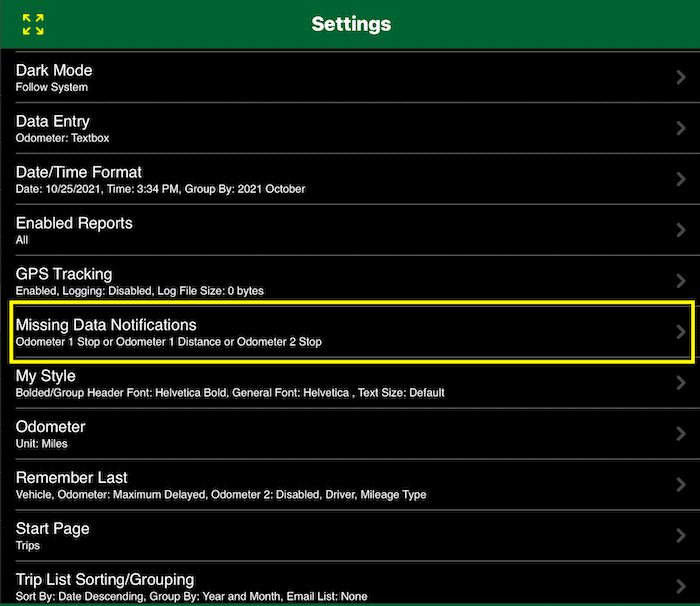
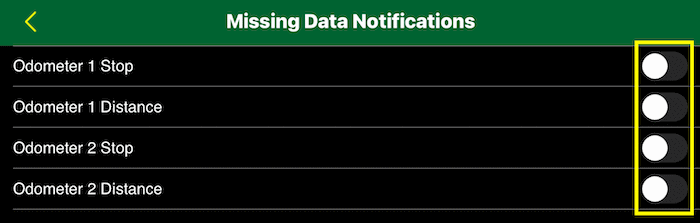
Scroll down to and tap the "Missing Data Notifications" row.
-
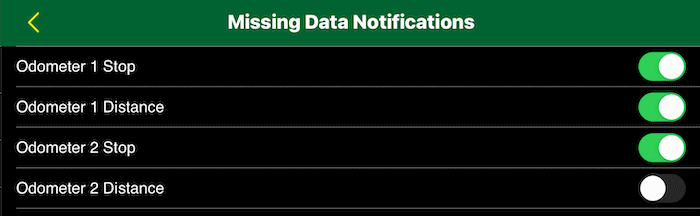
For the fields you want to in the notification, change the toggle switch to the
 state. For the fields you want to disable, change the toggle switch to the state. For the fields you want to disable, change the toggle switch to the  state. state.
What does each option do?
-
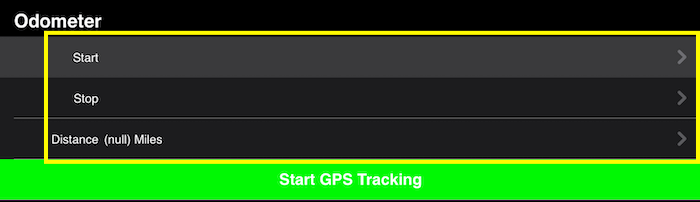
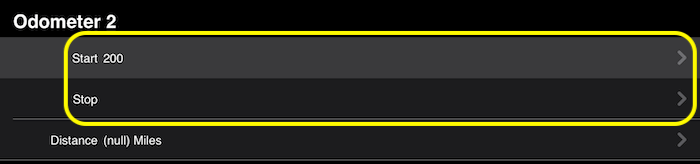
Missing Odometer 1 Stop:
targets trips that have the first odometer's start but no odometer stop.

-
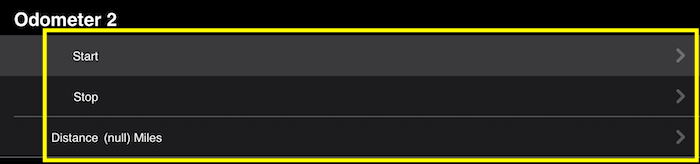
Missing Odometer 1 Distance:
targets trips that have no start, stop or distance for the first odometer.
-
Missing Odometer 2 Stop:
targets trips that have the second odometer's start but no odometer stop.
-
Odometer 2 Distance:
targets trips that have no start, stop or distance for the second odometer.
-
To disable just the Missing Data notification, turn off all toggle switches:
How do I find the trip(s) that triggered the notification?
How do I enable or disable all notifications for the app?
-
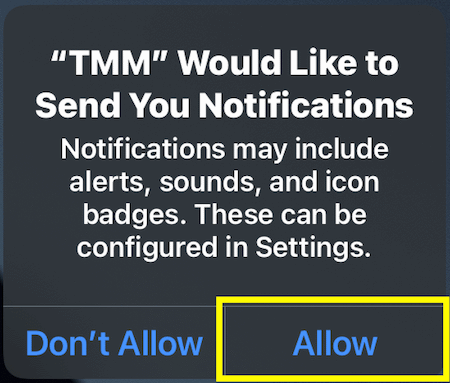
During the initial app launch, you will be prompted to allow notifications.
-
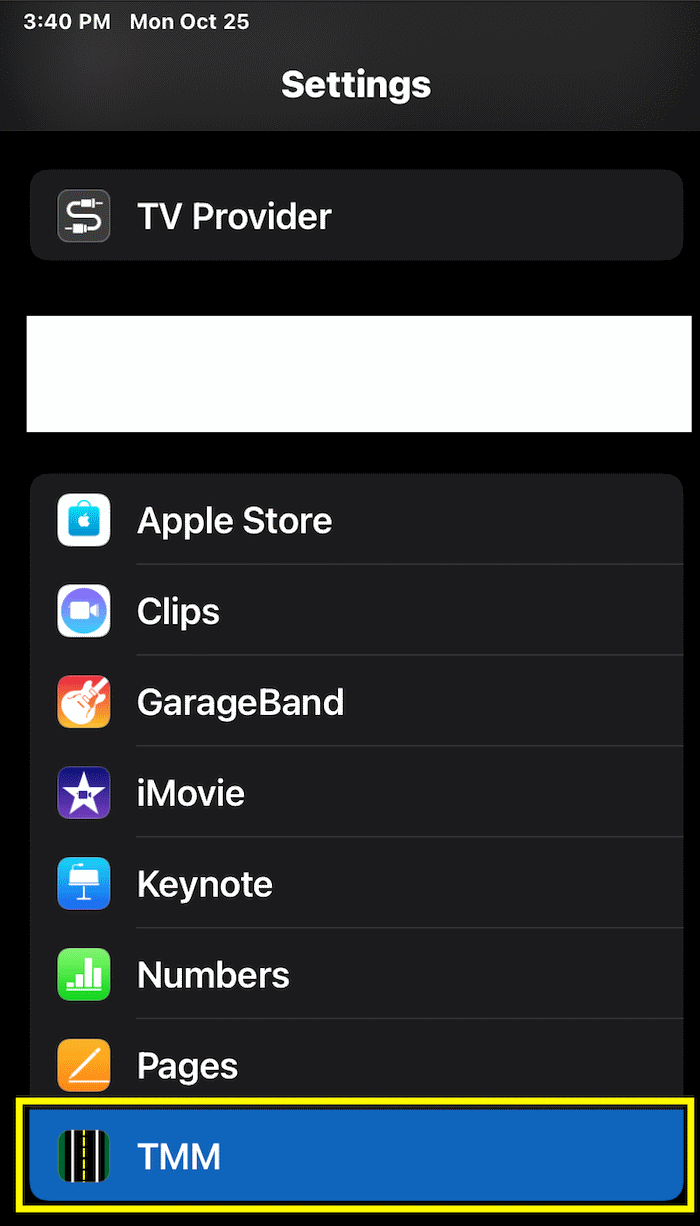
To confirm or change that selection later, open the Settings app then scroll down to and tap the apps row.
-
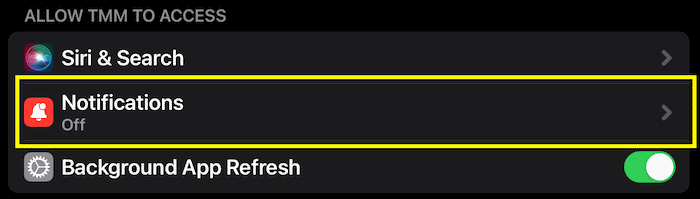
Then tap the Notifications row, in the "ALLOW TMM TO ACCESS" section
-
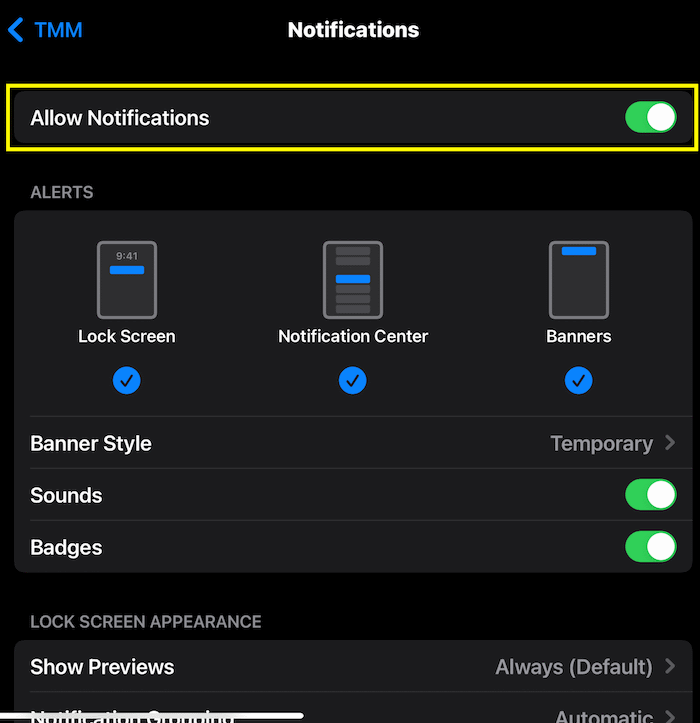
Change the allow notifications toggle switch to the state to enable notifications.
-
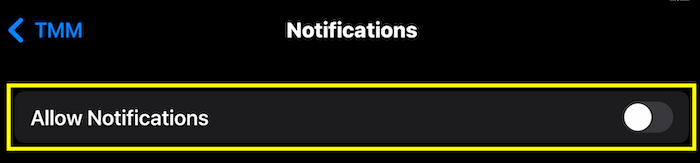
Or to disable the notification, change the toggle switch to the
 state. state.
|
-
Access the TMM Store (tap here to learn how)
-
Tap the
 button on the toolbar at the bottom to launch the Manage Subscriptions section of your App Store account. button on the toolbar at the bottom to launch the Manage Subscriptions section of your App Store account.

|
-
Access the TMM Store (tap here to learn how)
-
Tap the
 button on the toolbar at the bottom to launch the Manage Payment section of your App Store account. button on the toolbar at the bottom to launch the Manage Payment section of your App Store account.

|
You can now subscribe and get access to all the features by following these steps:
-
Access the TMM Store (tap here to learn how)
-
Scroll down to the "Subscriptions" section and tap on the "Ultimate" row.
-
The subscription details page will open where you can read more about it and determine which renewal period fits your needs. When you are ready to start the subscription, tap the button with your preferred renewal window and follow any prompts provided by Apple to complete the process.
Payment will be charged to your Apple ID account at the confirmation of purchase. Subscription automatically renews unless it is canceled at least 24 hours before the end of the current period.
Your account will be charged for renewal within 24 hours prior to the end of the current period.
Tap here to learn how to change the renewal window or cancel your subscription.
|
|
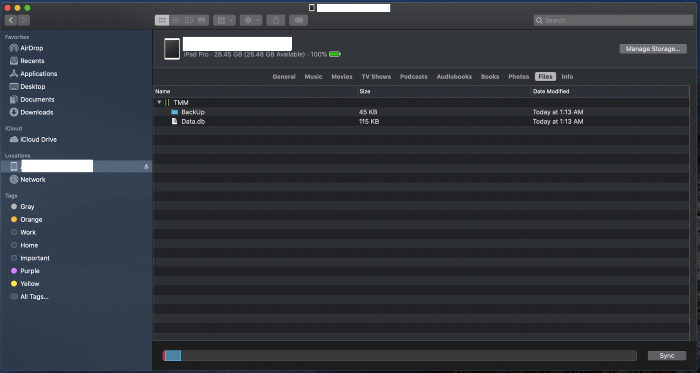
Starting macOS Catalina, you can use Finder to access the backed up reports.
If you're using macOS Mojave or earlier or a Windows PC, use iTunes to access the backed up reports. (tap here to learn how)
- Open a Finder window.
- Connect your iPhone, iPad, or iPod touch to your computer with a USB cable.
- Select your device in the Finder. Tap here to learn what to do if your computer does not recognize your device.
- Click the Files tab then click the triangle next to TMM to reveal the list of existing files. Then select all files with a CSV, HTML or PDF extension, then drag the files to your computer.
|